How to Set up Macs with CUDA for Tensorflow and PyTorch
Intro
Perhaps the following might seem familiar to you. You came across a new ML model that may solve a headache of yours, and as luck would have it, the model
✓ achieves state-of-the-art accuracy,
✓ is open sourced, and, a big and
✓ comes with pre-trained models!
Nice! You got excited and immediately had the project and model set up on your computer, a Mac incidentally, and this happens…
Traceback (most recent call last):
  File "predict.py", line 39, in <module>
    params = torch.load('....pth', map_location=lambda storage, loc: storage)
  ...
  File ".../python3.6/site-packages/torch/cuda/__init__.py", line 63, in _check_driver
    raise AssertionError("Torch not compiled with CUDA enabled")
Sigh, here we go again - another rabbit hole. Is this model really worth the trouble? You thought to yourself: If only my Mac could be configured with CUDA support, I can spend my energy evaluating and improving ML models, not wasting time debugging technical details or tracking down compatibility issues.
The question is, is CUDA even supported on Macs, and how long would it take to get it set up?
The Lowdown
The good news is yes, it is possible to set up your Mac with CUDA support so you can have both Tensorflow and PyTorch installed with GPU acceleration. This would enable you to not only do inferencing with GPU acceleration, but also test out GPU training locally on your computer before launching full training on your servers.
The bad news is that CUDA support on Macs is limited to older models with Nvidia GPUs, and locked to specific version of MacOS. It’s not a great situation, but for those with limited budget or old Macs laying around, this may not be the worst thing.
In my case, I opted for a used 15 inch MacBook Pro (Late 2013 with GeForce 750M) for less than $500, so I can have a dedicated computer for my ML development. Once a model training pipeline is validated, then I launch the training on my Linux server with a beefier GPU card (1080 Ti). This way when my server is tied up doing model training, my laptop serves as a backup for further model development and evaluation.
The last piece of good news is the process for getting CUDA, Tensorflow, and PyTorch set up is pretty fast, about 60 minutes or so. Let’s get started!
Step 1: Install MacOS
Assuming you have a Mac with Nvidia GPU, then the first step is to install MacOS 10.13.6, the last version with CUDA support.
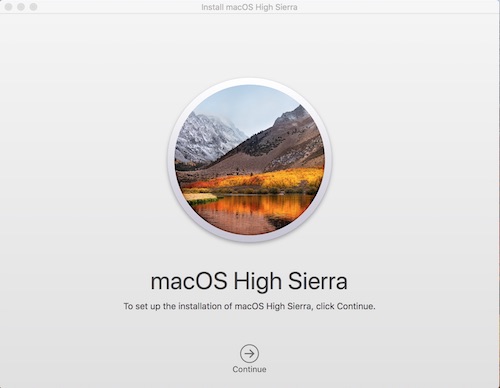
The App store link to download the installer is here if you need it.
Step 2: Download and Install Xcode 9.4.1
Full Xcode is not strictly required, so you can use the command line version if you prefer. Either way, you must get this particular 9.4.1 version to ensure compatibility, which unfortunately, you’d need to sign up for a free Apple Developer account first.
Once you log in to https://developer.apple.com, navigate to More Downloads and search for “xcode 9.4.1”.
Alternatively, the direct download link is here.
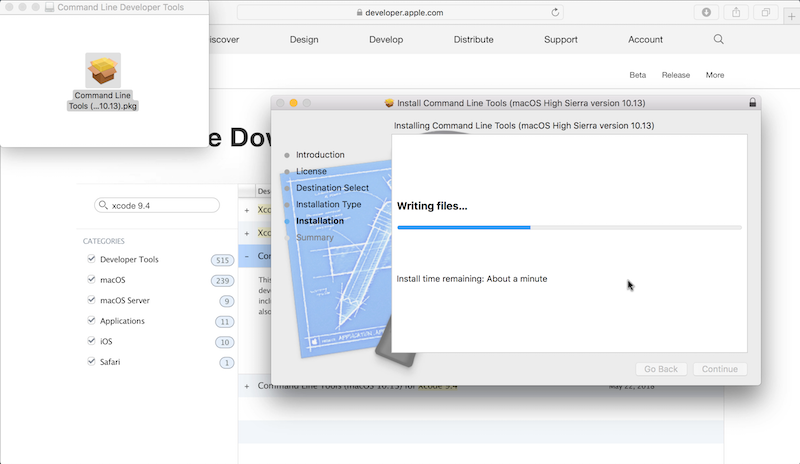
Once installed, and in case you have other Xcode version on your system already, open a Terminal window and run
xcode-select -s /Applications/Xcode.9.4.1.app
Step 3: Download and Install CUDA Software
- Downlaod and install the Nvidia Web driver
Update: To know which version to download, check your OSX build version via Apple menu -> About This Mac -> Click on “Version 10.13.6” to reveal the your build version (which will change whenever you apply a Software Update so beware!):
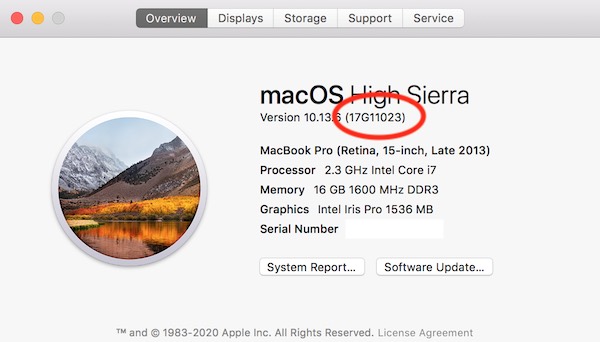
For example, the web driver link for my build version of 17G11023 is here.
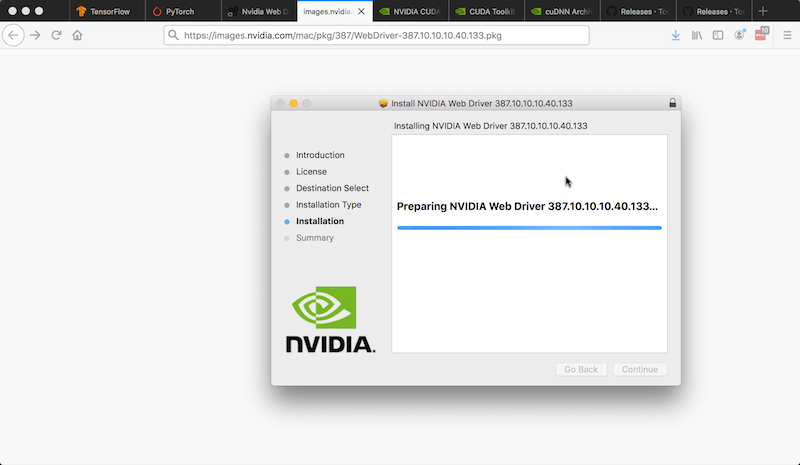
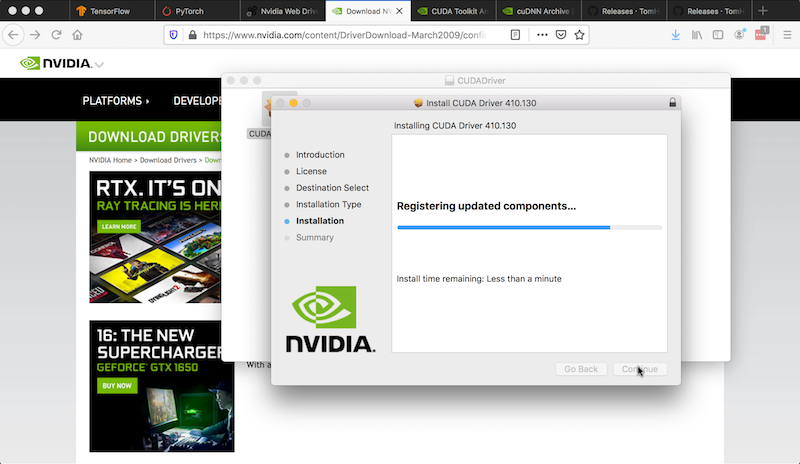
- Download and install the CUDA 10 Driver 410.130
- Download and install CUDA 10 for MacOS 10.13, be sure to install the samples also
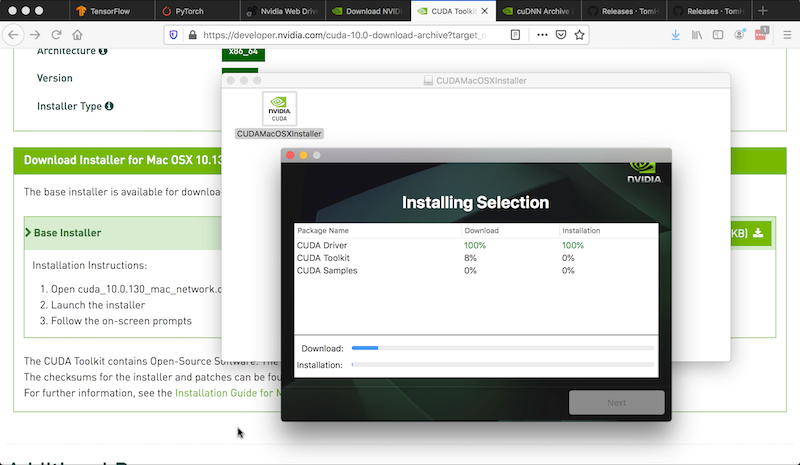
Once installed, open a terminal copy and paste the following to add the paths to your shell environment.
echo "export CUDA_HOME=/usr/local/cuda" >> ~/.bash_profile
echo "export PATH=/usr/local/cuda/bin:/Developer/NVIDIA/CUDA-10.0-/bin${PATH:+:${PATH}}" >> ~/.bash_profile
echo "export DYLD_LIBRARY_PATH=/usr/local/cuda/lib:/Developer/NVIDIA/CUDA-10.0/lib:/usr/local/cuda/extras/CUPTI/lib" >> ~/.bash_profile
echo "export LD_LIBRARY_PATH=$DYLD_LIBRARY_PATH" >> ~/.bash_profile

source ~/.bash_profile
Check that DYLD_LIBRARY_PATH does exist in your environment via the following.
env|grep DYLD_LIBRARY_PATH
You should see something like
DYLD_LIBRARY_PATH=/usr/local/cuda/lib:/Developer/NVIDIA/CUDA-10.0/lib:/usr/local/cuda/extras/CUPTI/lib
Howevr, if it comes back empty, you need to disable System Integrity Protection (SIP). More detailed instructions can be found here on iMore.
- Click the Apple symbol in the Menu bar.
- Click Restart…
- Hold down Command-R to reboot into Recovery Mode.
- Click Utilities.
- Select Terminal.
- Type
csrutil disable - Click the Apple symbol in the Menu bar.
- Click Restart…
Once rebooted recheck that DYLD_LIBRARY_PATH exists in
your shell via echo $DYLD_LIBRARY_PATH.
Step 4: Install CuDNN (optional but recommended)
- Download CuDNN 7.4 for CUDA 10
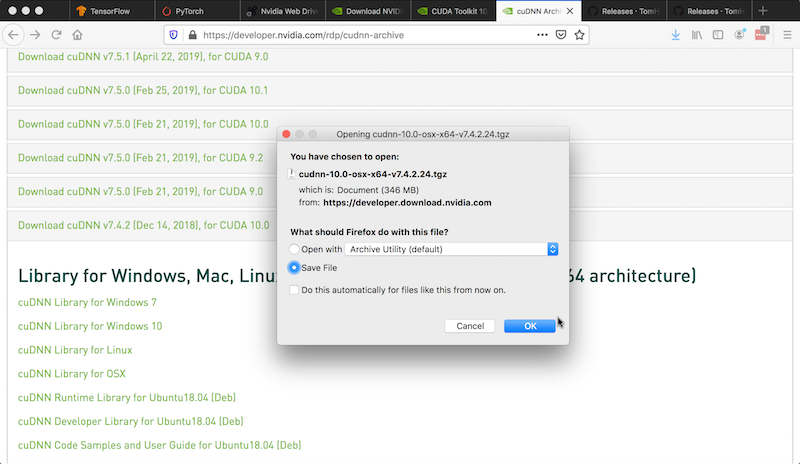
In your Terminal window cd to where your downloaded files are, such as ~/Downloads, and paste in the following:
cd ~/Downloads
tar xzf cudnn-10.0-osx-x64-v7.4.2.24.tgz
sudo cp cuda/include/cudnn.h /usr/local/cuda/include
sudo cp cuda/lib/libcudnn* /usr/local/cuda/lib
sudo chmod a+r /usr/local/cuda/include/cudnn.h /usr/local/cuda/lib/libcudnn*
Step 5: Check your CUDA Installation
This step is optional but very useful to check that CUDA is properly installed.
cd /Developer/NVIDIA/CUDA-10.0/samples
sudo chown -R <your_user_id> .
make -C 1_Utilities/deviceQuery
/Developer/NVIDIA/CUDA-10.0/samples/bin/x86_64/darwin/release/deviceQuery
If the compilation worked, you should see something similar to the following and this means CUDA is working and you would be in the home stretch!
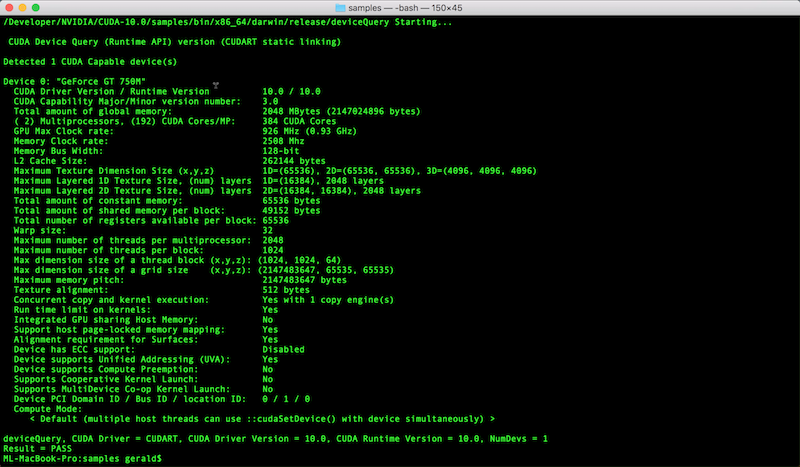
Step 6: Install Brew, Python, and Virtualenv
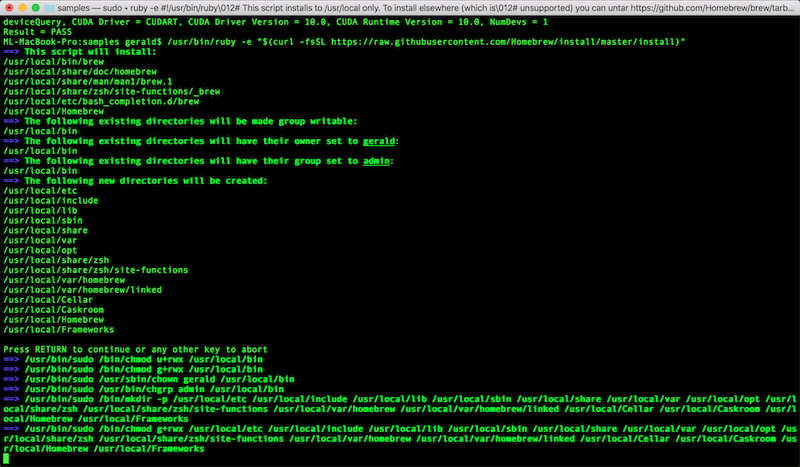
In a Terminal session, paste in the following:
# install brew
/usr/bin/ruby -e "$(curl -fsSL https://raw.githubusercontent.com/Homebrew/install/master/install)"

brew install python wget cmake

# install virtualenv
python3 -m pip3 install virtualenv
Step 7: Install Tensorflow 1.15 with GPU Support
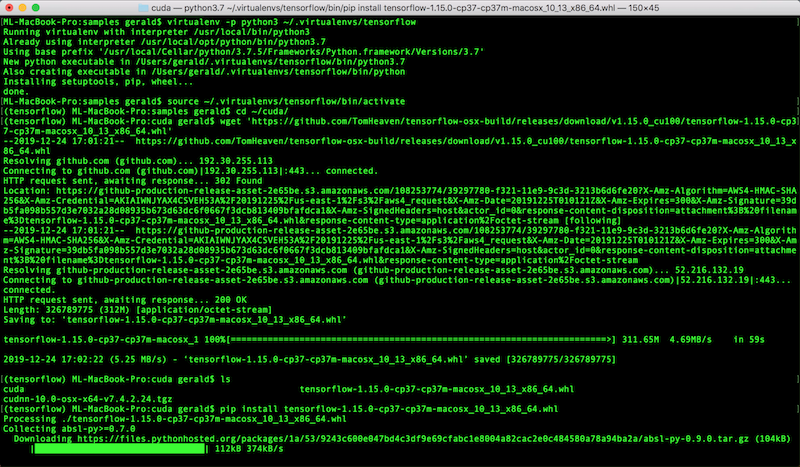
Thanks to great folks who share their work with the world, there’s no need to compile Tensorflow from source to enable GPU acceleration. Instead, it’s as easy as a download and an install command:
wget 'https://github.com/TomHeaven/tensorflow-osx-build/releases/download/v1.15.0_cu100/tensorflow-1.15.0-cp37-cp37m-macosx_10_13_x86_64.whl'
Before you install this Wheel package, it’s a good idea (if not a must) to create a virtual environment first:
mkdir ~/.virtualenv
# create a tensorflow env
virtualenv -p python3 ~/.virtualenv/tensorflow/
# enter the newly create env
source ~/.virtualenv/tensorflow/bin/activate
Now you can install this package into this environment:
pip3 install tensorflow-1.15.0-cp37-cp37m-macosx_10_13_x86_64.whl
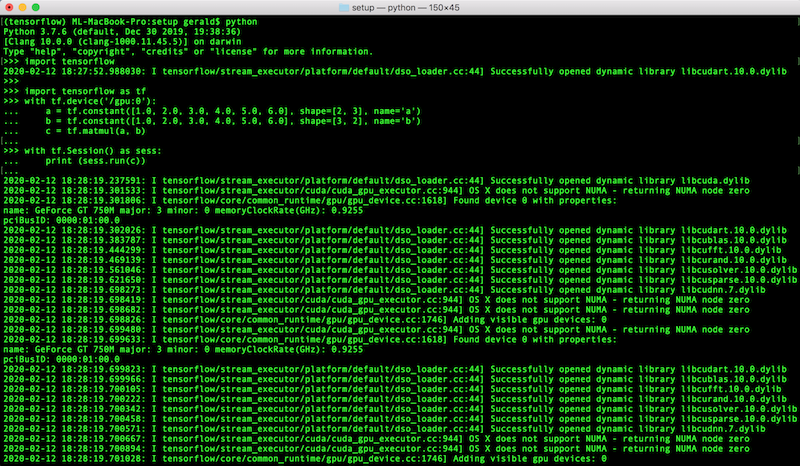
To ensure GPU is indeed available, start a python session and try the following
import tensorflow as tf
with tf.device('/gpu:0'):
    a = tf.constant([1.0, 2.0, 3.0, 4.0, 5.0, 6.0], shape=[2, 3], name='a')
    b = tf.constant([1.0, 2.0, 3.0, 4.0, 5.0, 6.0], shape=[3, 2], name='b')
    c = tf.matmul(a, b)

with tf.Session() as sess:
    print (sess.run(c))
You should see logs that look similar to the following, telling you Tensorflow is running on your GPU!
Step 8: Install PyTorch
Again, thanks to the GitHub user TomHeaven, installing PyTorch with GPU is similarly super-easy:
# install some prerequisites
brew install libomp
brew link --overwrite libomp
brew install open-mpi
Create a virtual environment:
# if you were in the tensorflow env
deactivate
python3 -m virtualenv -p python3 ~/.virtualenvs/pytorch
source ~/.virtualenvs/pytorch/bin/activate
Download and install precompiled package:
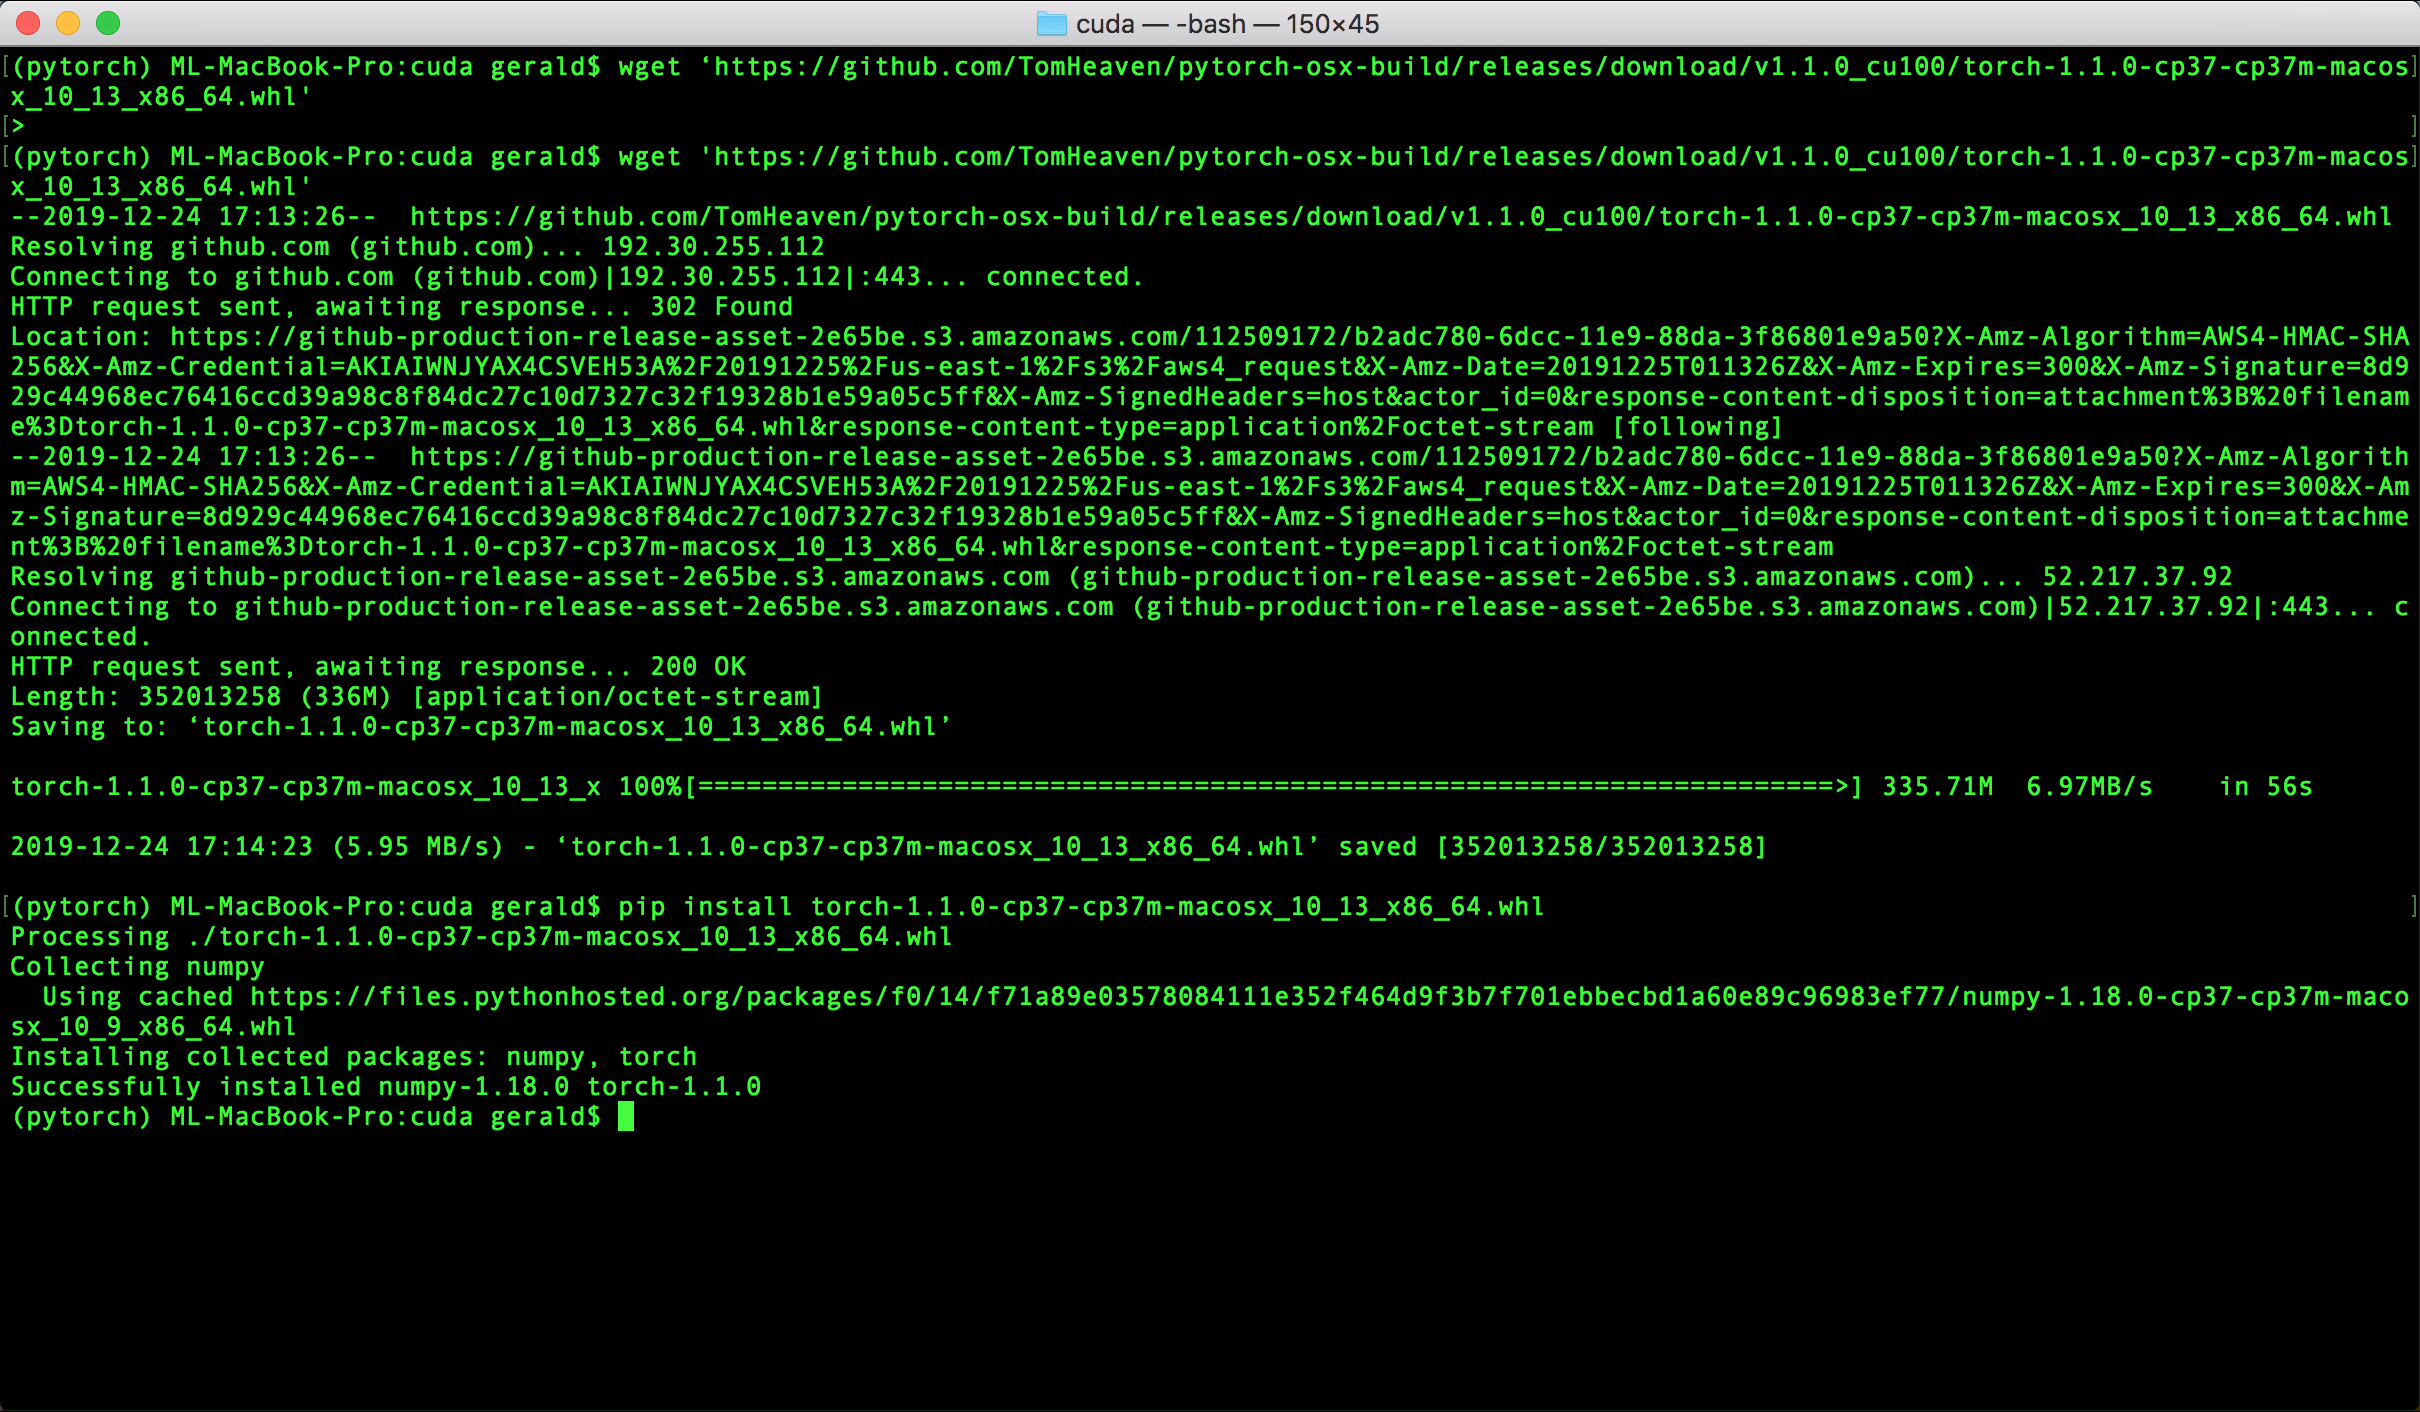
wget 'https://github.com/TomHeaven/pytorch-osx-build/releases/download/v1.1.0_cu100/torch-1.1.0-cp37-cp37m-macosx_10_13_x86_64.whl'

pip3 install torch-1.1.0-cp37-cp37m-macosx_10_13_x86_64.whl
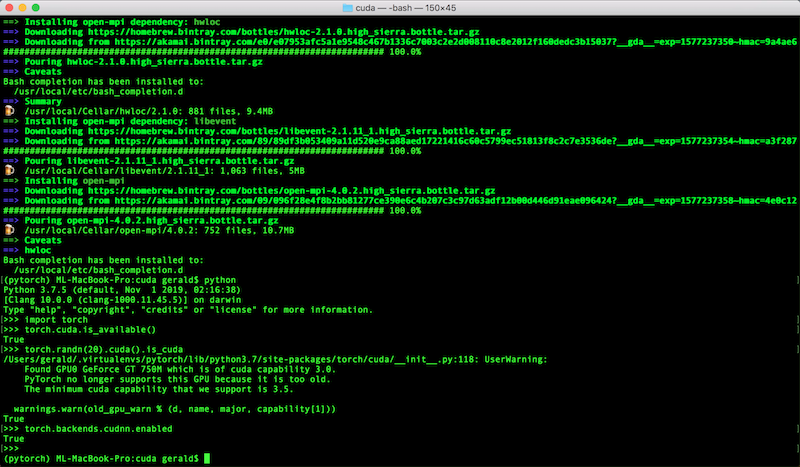
To test out that CUDA is enabled, start a python session and try the following:
import torch
torch.cuda.is_available()
torch.randn(20).cuda().is_cuda
torch.backends.cudnn.enabled
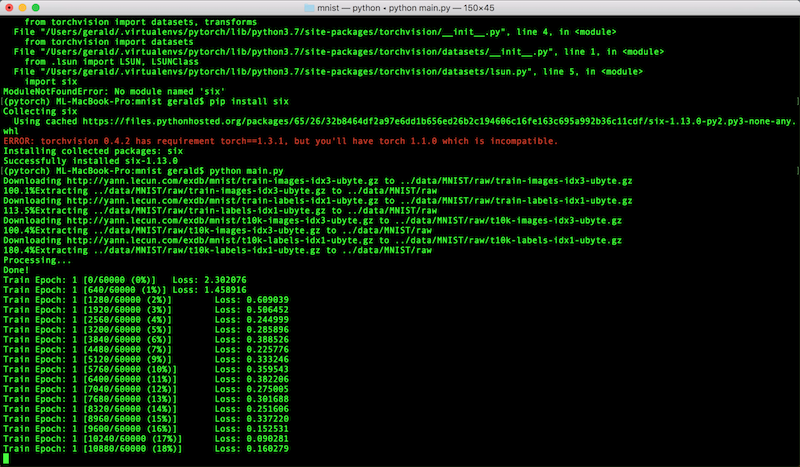
Finally, to run model training on your newly configured Mac, download a demo PyTorch model and time the speed. It won’t be great, but certainly faster than CPU-only training!
git clone https://github.com/pytorch/examples
pip install torchvision==0.3.* Pillow six

cd examples/mnist
time python main.py
Conclusion
There you have it! Your Mac is now ready for some deep learning action. It’s not exactly a powerhouse, but the notion of having a portable workbench for deep learning is great, not to mention the possibility of doing live demos locally. Best of all, it provides you with a self-contained environment to do rapid iterations of your model research and development: local code, local IDE, local visualization, local debugging, local testing. Shorter the cycle, the better!